Create a Lesson
Once you have created your course, the next step is to add lessons. Lessons are essential components that break down your course content into manageable sections. Here’s how to create a lesson within your course.
Step-by-Step Guide to Creating a Lesson
- Access the Course Lessons Section:
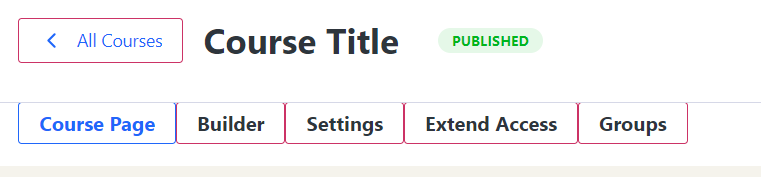
- Navigate to the course you just created and click on the “Builder” tab.
- Add a New Lesson:
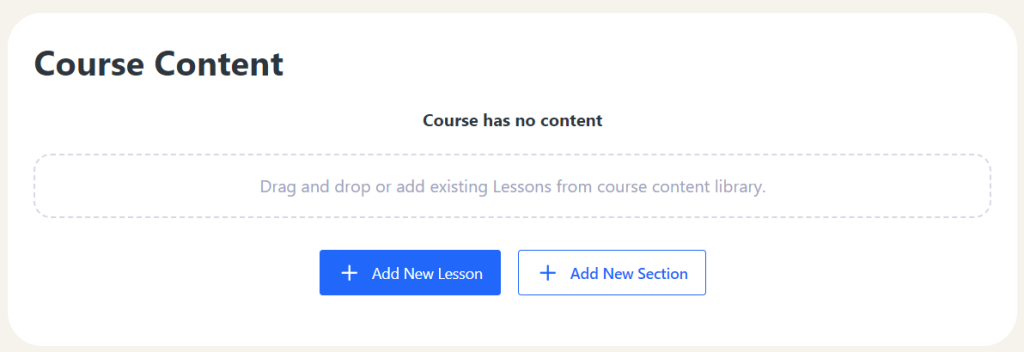
- Click on the “Add New Lesson” button to start creating a lesson.
- This will open the lesson creation form.
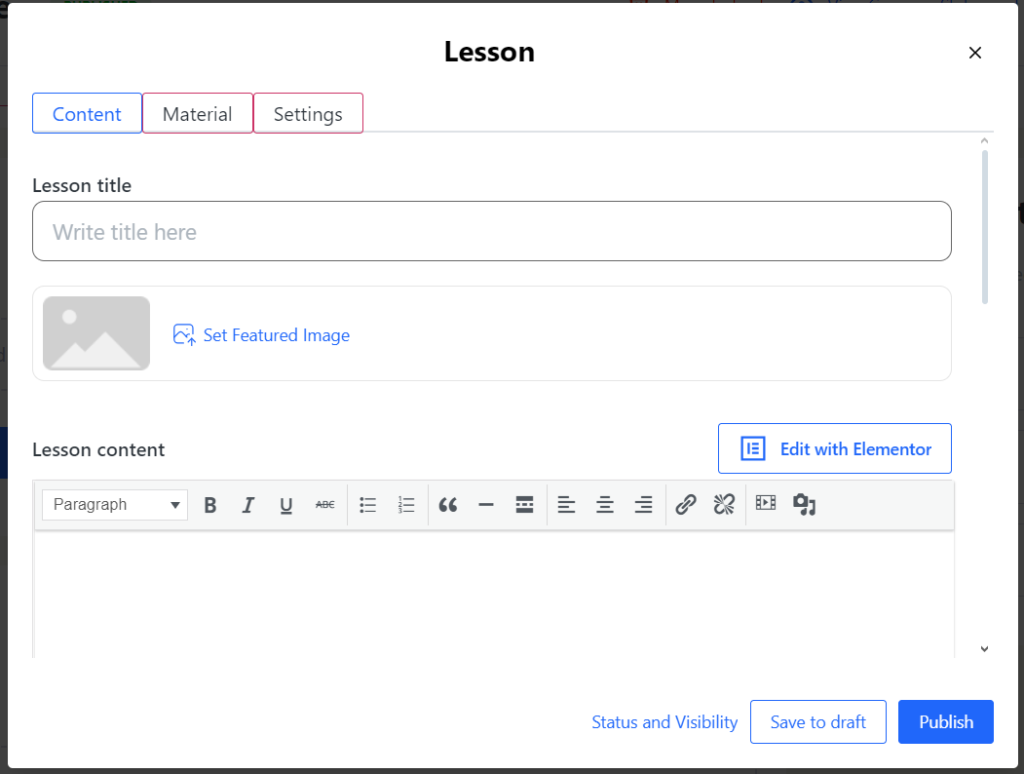
- Fill in Lesson Details:
- Title: Enter a descriptive title for your lesson that reflects its content.
- Content: Provide the main content for your lesson. This can include text, images, videos, and other resources to enhance learning.
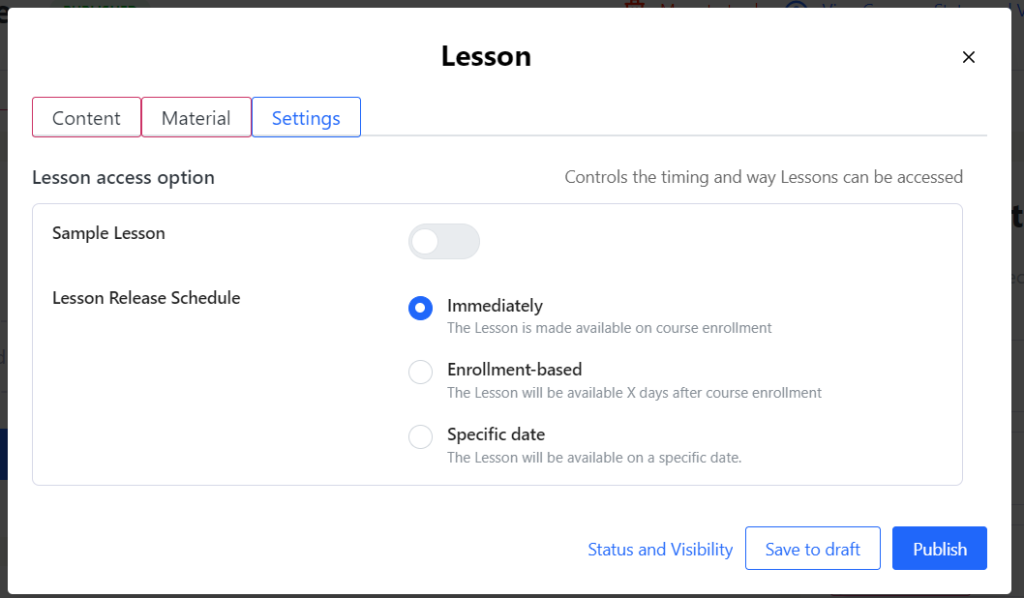
- Set Lesson Options:
- Visibility: Choose whether the lesson will be visible to learners immediately or at a later date.
- Completion Settings: Set requirements for lesson completion, such as watching a video or completing a quiz.
- Save Your Lesson:
- Once you have filled out all necessary information, click the “Publish” button to create the lesson.
- You can also preview the lesson to see how it will appear to learners.
- Post-Creation Adjustments:
- After saving, you can return to the lesson to edit details, add multimedia, or adjust settings as needed.
Tips for Effective Lesson Creation
- Organize Content Logically: Ensure that the lesson flows logically, building on previous knowledge and leading into future topics.
- Use Engaging Formats: Incorporate various formats (videos, quizzes, interactive elements) to keep learners engaged.
- Break Down Complex Topics: If a topic is complex, consider creating multiple lessons to cover it thoroughly.
Conclusion
Creating lessons is a crucial step in developing your course, as they provide the structure and content that learners will engage with. By following this guide, you are well on your way to offering a comprehensive learning experience. Take your time to craft each lesson thoughtfully, ensuring it adds value to your course.